Close
You have no items in your shopping cart.
Search
Filters
RSS

Blog

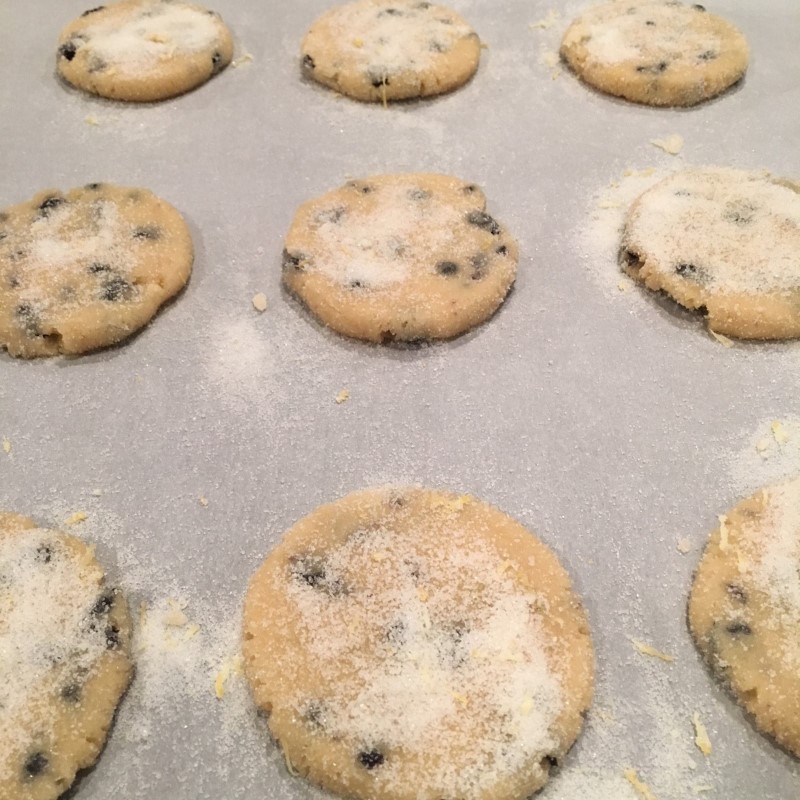
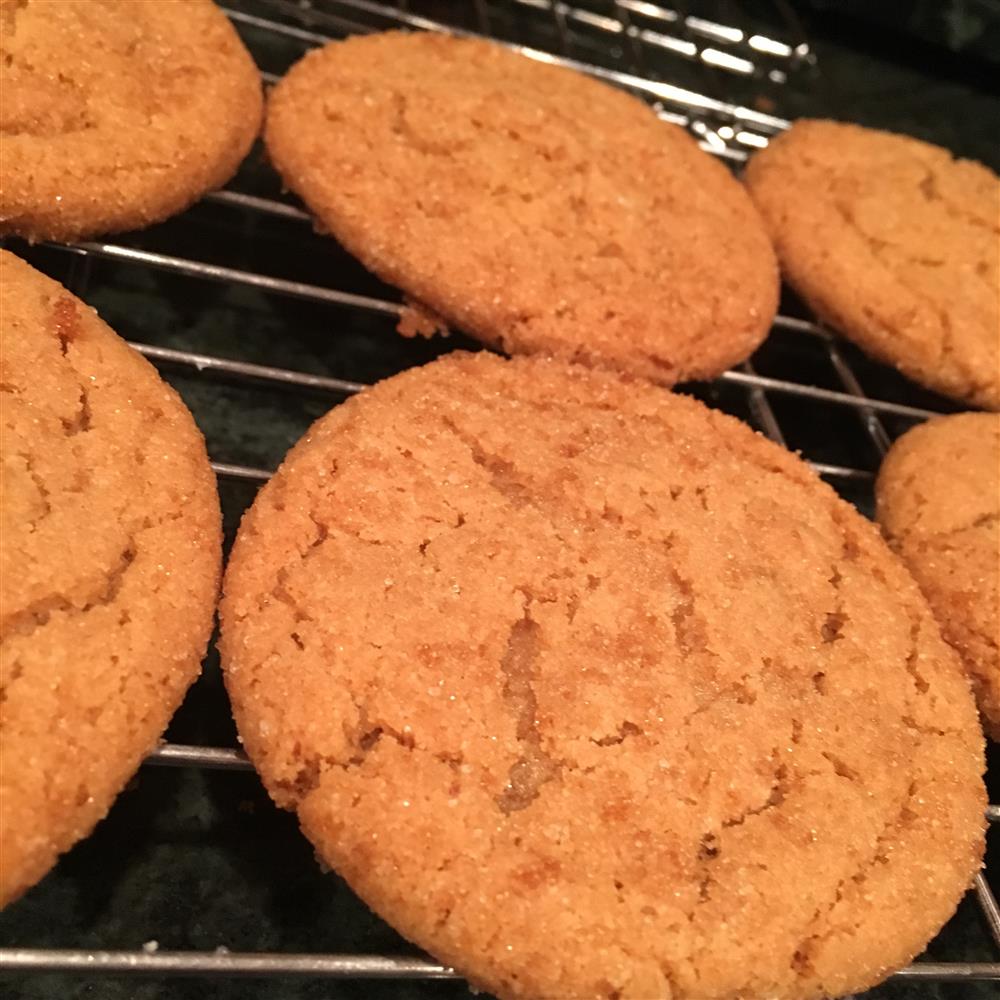
Lemon Blueberry Sugar Cookies

I am completely adicted to sugar cookies - I cannot turn them down but am often dissapointed in texture and flavor of anything mass produced and many home recipies.  My favorite set of cooks and chefs over at America's Test Kitchen produced a great sugar cookie recipe with just the right texture and loaded with subtle flavors in their magazine  Cooks Illustrated.  For something a bit different I took their basic recipe and added the bright flavor of lemon and sweet blueberries for a summery flavored sugar cookie that we devour at our store and home.

Yields 18-24 cookies

  • 2 1/4 cups + 2 Tablespoons all-purpose flour
  • 1 teaspoon baking powder
  • 1/2 teaspoon baking soda
  • 1/2 teaspoon salt
  • Zest from one lemon (about 1 tablespoon) - divided
  • 1 1/2 cups granulated sugar PLUS additional 1/2 cup for rolling
  • 2 ounces cream cheese - room temprature
  • 6 tablespoons unsalted butter (I prefer the amazing Plugra brand butter, which is a European Style but actually made in the USA.)
  • 1/2 cup vegetable oil
  • 1 large egg
  • 1 tablespoon whole milk
  • 2 teaspoons vanilla extract
  • 1 teaspoon lemon extract
  • 1 4 ounce package dried blueberries - coarse chop

Preheat oven to 350 degrees and put rack on top position. I bake on partchment paper always!

bfpk lemon blueberry sugar cookies

  • Wisk flour, baking powder, baking soda & salt in medium bowl
  • In small shallow bowl mix 1/2 of the lemon zest with 1/2 cup sugar - mix thouroughly and break up lumps - you will have mix this several times because the moisture in the zest causes clumping - might want to place in warmer part of kitchen to help evaporate the moisture a bit.
  • In large mixing bowl combine remaining lemon zest, cream cheese and sugar. Mix thouroughly but dont worry if it is lumpy.
  • Add melted butter to sugar/cream cheese mix and combine until smooth.  Add vegatable oil, egg, milk and both extracts to this and stir thoroughly with each addition until a smooth even texture.
  • Add chopped dried blueberries and flour mixture to batter.  Mix gently until combined and no dry flour remains.
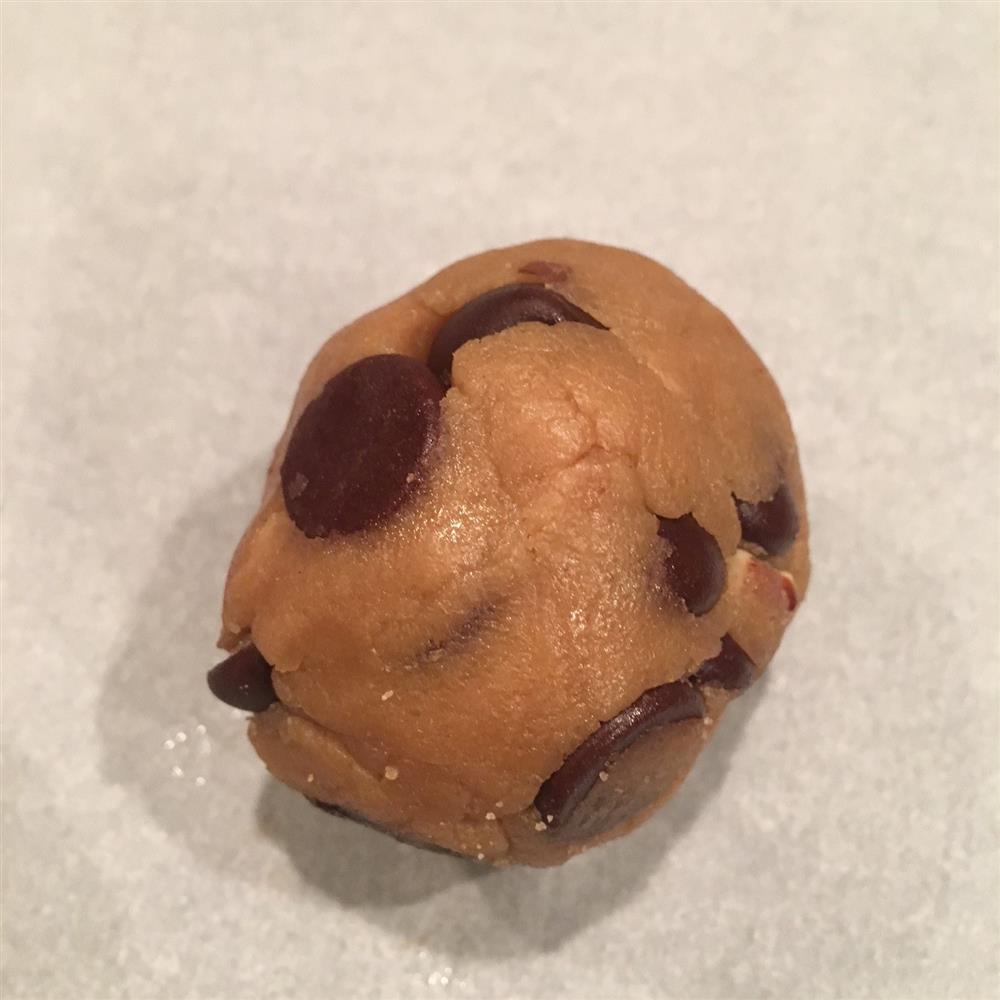
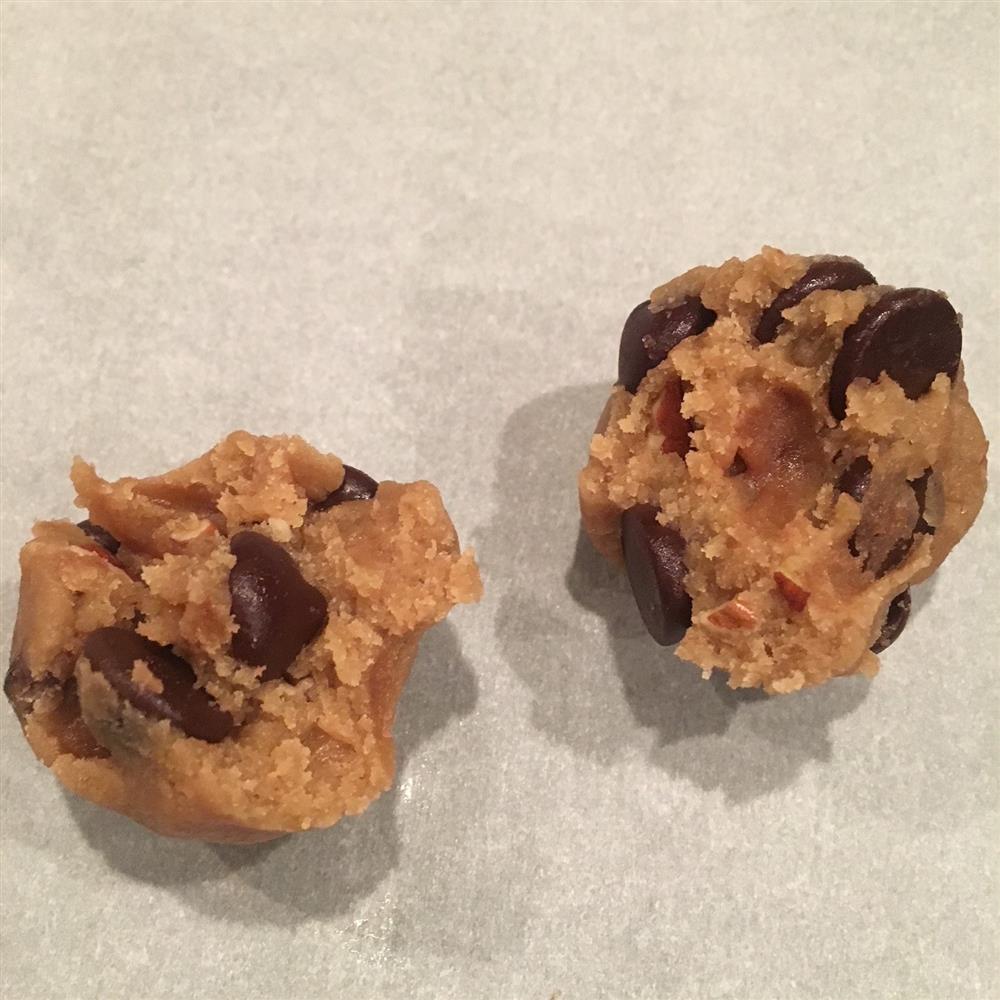
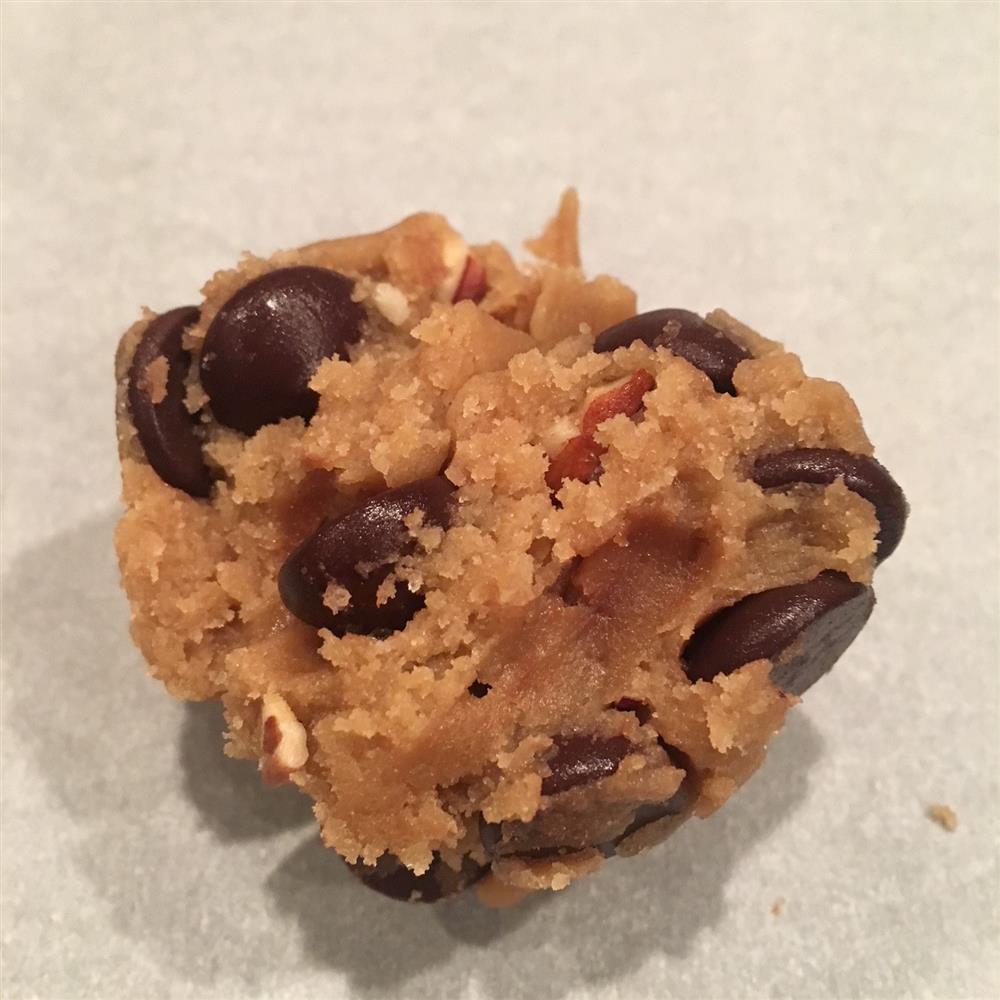
  • take 1/4 cup portions of the batter and form smooth ball, roll in sugar/lemon zest mixture and place on partchment lined cooking sheet approximately 2 to 2 1/2 inches apart.  I get about 9 cookies per sheet.
  • Using flat bottomed glass or measuring cup press ball down until about 1/4 inch thick
  • Dust tops of cookies with more sugar/zest mixture lightly
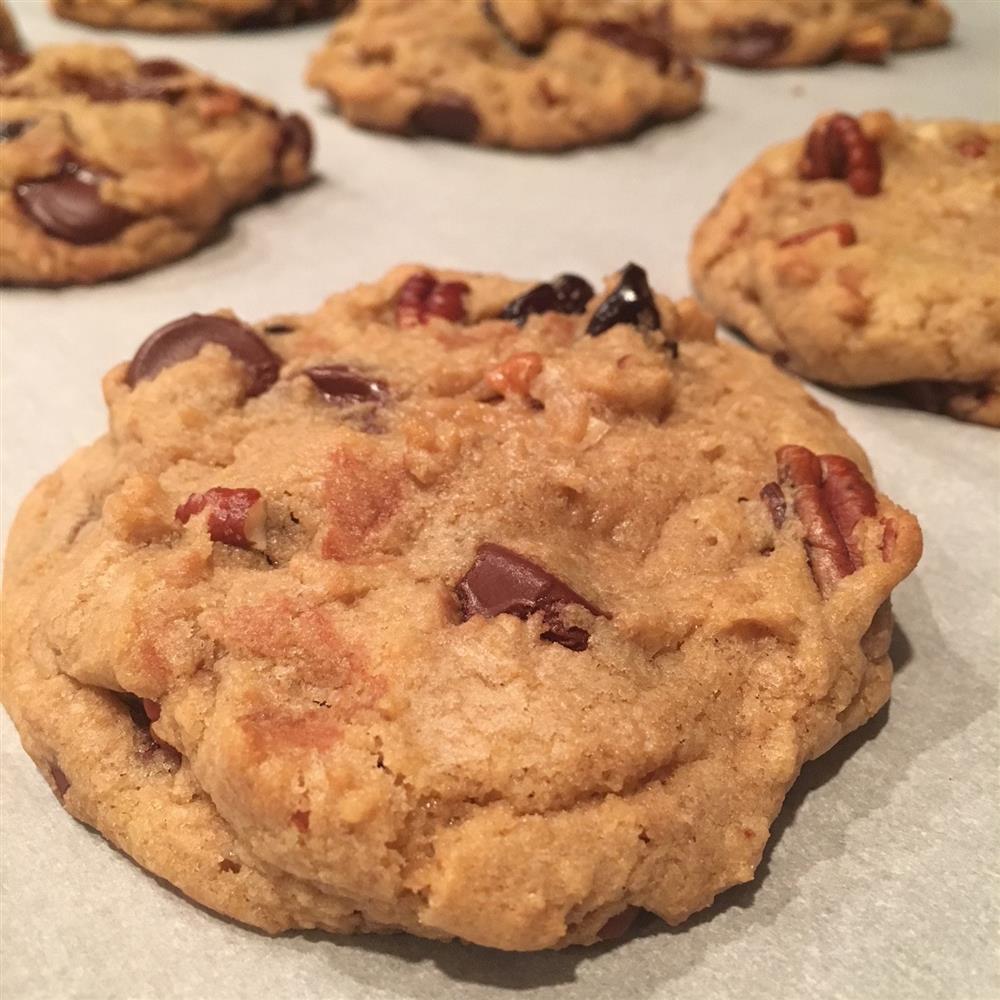
  • Bake 11 13 minutes at 350 Degrees.  Cookies should look dry at edges and only slightly darker at edges - you DON'Twant to over bake to brown crispy.
  • Let Cool on parchment paper (on cookie sheet or off) cooling on the partchment retains lots of the moisture - once mostly cooled (15-20 minutes move to wire rack to finish.
  • Store airtight container - flavors meld overnight and are even better 2 and 3 days later


Comments (0)
Chewy Cherry Pecan Chocolate Chip Cookies

As you most likely know I am a huge fan of Cooks Illustrated and when looking for a base recipe for chocolate chip cookies I found their chewy chocolate chip cookies to be a great launching point for these loaded melt in your mouth goodies.

A few points of interest: Melting the butter before mixing with sugar helps these remain chewy and I consider this a must! Also the strange approach to forming the cookie by pulling apart a rounded ball and reassembling as a craggy topped sphere seems a bit weird but creates such a nice appearance of a artisan looking cookie I just had to include it as well.

A note on ingredients: butter butter butter – use a European style butter – not land o lakes or some no name American brand. There is higher proportion of butter fat in the European style butters and creates a nice smooth taste. I use unsalted and you should too. I am not a fan of the Irish brand, Kerrygold, because it has a bit too much fat and turns these cookies a bit greasy. My butter of choice is the amazing Plugra brand butter, which is a European Style but actually made in the USA. It has the perfect flavor and just the right amount of fat. Delicious! I am using dried Montmorency Cherries that are just a bit tart but rich in cherry flavor (I like this brand from Publix). These can be purchased at local grocery and my chocolate chip of choice is Ghiradelli 60% Bittersweet Chip (these are large chips and just the right amount of bittersweet to combat this sugary batter)

Ingredients:

  • ¾ cup pecans (whole or pieces)
  • 12 tablespoons UNSALTED butter
  • 2 1/8 Cup all purpose flour
  • ½ teaspoon salt
  • ½ teaspoon baking soda
  • 1 cup dark brown sugar
  • ½ cup white sugar
  • 1 large egg PLUS 1 large egg yolk
  • 2 ½ teaspoons vanilla
  • 1 5 oz bag dried Montmorency Cherries
  • 1 10 oz bag Ghiradelli 60% Bittersweet Chocolate Chips

Directions:

  1. Heat oven to 250 degrees, place pecans on baking sheet (I recommend using some parchment paper as well) Roast pecans for 30-40 minutes until fragrant. Remove and let cool. Chop medium (pencil eraser size). Roasting brings out a buttery and rich toffee flavor to pecans.
  2. Increase oven temp to 325 Degrees
  3. Melt (gently) the butter in microwave or on stove top – do not over heat because it will pop and or burn. Does not need to be melted to the point of separating… just melted.
  4. While butter is melting and cooling down: measure out flour, salt and baking soda into small bowl and whisk well to combine. Measure out two sugars into large mixing bowl. Mix melted butter into sugars and stir to combine, continue stirring until lumps are removed. You might see a bit of separation of the butter fat from the sugar mixture (this will be resolved with…. Add the whole egg and 1 egg yolk to sugar/butter mixture. Mix well until a uniform creamy mixture is formed and egg is completely incorporated. Add vanilla and mix until completely incorporated.
  5. Add flour to sugar/butter/egg and mix UNTIL JUST BARELY incorporated – you do not want to over mix – it causes the cookies to be tough (you only want to mix until the flour streaks disappear). Add chocolate chips, dried cherries and chopped pecans. Mix gently until thoroughly dispersed (again you are not whipping these together…. Just gentle mixing with a wooden spoon)
  6. Forming cookies – this was a bit weird to me but is so pleasing in the result I recommend doing this. Using ¼ cup handfuls (more than a golf ball and less than those little tangerines that are all the rage right now – you can measure with a cup the first couple of times if that helps). Round the dough into a sphere. Take the sphere and break it in half and then reform a new round ball by squishing the two halves’ back together so rough torn part is on top (see photos). Place sphere craggy side up on parchment lined cookie sheet. I can get about 9 on a sheet spreading them out well. (you will need to cook two sheets worth from this recipe – approx. 18 cookies
     

    Form a smooth round ball of dough

    form smooth ball of dough

    split apart ball of dough

    split apart ball of dough

    reform dough ball with craggy top

    reform ball with craggy top

     
  7. Bake at 325 degrees for 13-15 minutes – cookies should look just a bit under done in the center. Remove from oven and cool ON THE COOKIE SHEET – do not use a cooling wire rack – cooling on the sheet helps keep them moist and chewy.
  8. Store in airtight container once completely cooled or gobble them up when they have cooled to room temp!
Cherry Pecan Chocolate Chip Cookies
Comments (0)
Bourbon Creamsicle Caramels

Last weekend I was feeling a bit adventurous with the cookies and decided to go on a quest for the perfect salted caramel chocolate chunk cookie (which unfortunately is still in development.  In my approach I though I would grab some grocery store caramels as the soft melting center of my cookie, so I bough a bag.  I opened one (of the 30 or so in the bag) took a  bite and all I thought was “this is caramel flavored wax”… yuck.  So my cookie quest became a bit grander…. now I had to figure out homemade caramels. 

Well google is replete with recipes and looking over them all they seemed to be highly similar in approach.  The basic recipe seems to have been handed down from a handful of grandmothers and now inhabits all corners of the internet.  One recipe from Meaningful Eats even has this photo of the grandmother’s recipe card.   All the recipes follow this basic approach with some substitutions here and there.

I made up a big batch at 10pm and suffered through the hour long stirring.  Poured them out and then hit the hay.  The next morning, I rushed to the fridge, cut off a huge chunk and did a little taste test.   Soft rich buttery and delicious (not a hint of wax to be found). After my first batch and the fact that they disappeared off the counter at an alarming rate, I decided to play around with this recipe and expand the flavors a bit.  I love butter rum flavor and bourbon seems to the perfect partner for the caramel so I knew I was going to use bourbon in the recipe.  Since there was already some vanilla and the addition of the bourbon would ratchet up that flavor profile a good bit I thought some counter part flavor would need to be added.  Naturally with vanilla & bourbon I decided a hint of citrus would expand the taste a good bit and settled on orange.  Orange + Vanilla always = Creamsicle in my mind so I gave it a whirl.

My batch of these caramels will be at the store this week so feel free to come by for a taste (if they last).

  • 1 cup (2 sticks) unsalted butter
  • 4 cups sugar
  • 2 cups light corn syrup
  • 2 cans (24oz) evaporated milk (not sweetened condensed)
  • ¾ teaspoon table salt
  • ¼ cup good quality Bourbon PLUS 2 Tablespoons
  • 1 teaspoon vanilla extract
  • 2 teaspoons orange extract
  • 2 tablespoons fresh zest from a large orange  

Regarding use of unsalted butter and the salt addition – this is easier to manage the salt content instead of using salted butter – if you use salted butter in this recipe be sure to pull back on the extra salt in the recipe.  The temperature of the candy is a bit higher than many of the online recipes because so much liquid is being added after it cooks.

  1. Prepare a 13x9 inch pan (I use a jellyroll/cake pan) but a glass casserole will work equally well.  Butter the pan with a small amount of butter (soft not melted).  Lay a sheet of parchment into the pan and be sure it goes up and above all side.  Then butter, liberally, the parchment. (buttering the pan allows the parchment paper to stick well and then buttering the parchment paper allows the caramels to be removed easily.  DO NOT attempt this without parchment paper.
  2. Add butter, sugar, corn syrup, salt and ¼ cup bourbon to a heavy deep sauce pan.  Heat on medium to medium high until a soft rolling boil.  Stirring constantly.
  3. Once mixture is boiling slowly add the 2 cans of evaporated milk with constant stirring.  Each can should be added in the smallest quantities to avoid curdling.  Each can should take about 10 minutes to add.  The cool milk will cause the mixture to stop boiling – soon as this occurs stop adding until the soft gentle boil returns.  KEEP STIRRING
  4. Continue to cook at a gentle constant boil with constant stirring until mixture reaches 240 degrees on a good quality candy thermometer or a high-quality instant read.  It will feel like it takes forever to get from 218 degrees to 228 degrees, but the following 12 degrees will pass quickly so keep a close eye.
  5. When caramel reaches 240 degrees REMOVE from heat.  Stir in final 2 tablespoons Bourbon, vanilla extract, orange extract and orange zest.  Keep stirring this until fully incorporated (about 2 minutes).
  6. While still hot pour caramels into the prepared 13x9 pan.  Move directly to refrigerator and let cool at least 3 hours (overnight will be best).  Remove from pan when cold and cut into thumb sized pieces (probably about 80 pieces depending on how big a thumb you have).  Wrap individual candies while still cool in wax paper and share!
Comments (0)
Brown Sugar Ginger Cookies – sweet and spicy in just the right proportion.

For the past six or seven weeks I have been spending Friday nights baking up cookies for Saturdays at the store.  I’m not sure how it happened that this became a thing, but it did and now it is kind of getting expected to see a platter of homemade cookies sitting on the front counter (at least the staff is starting to expect it)

I adore cooking and baking and anything culinary and love messing with traditional recipes and making them my own.  A recipe from Cooks Illustrated, my favorite cooking gurus, caught my eye a few weeks ago.  The “Brown Sugar Cookie” recipe seemed like something I needed in my repertoire mainly because it mentioned and used butter that had been browned on the stove creating that toasted nutty aromatic flavor I LOVE.  So I gave it a whirl.  The addition of candied ginger seemed like a perfect fit.  To ramp up the 'browned butter' flavor I have added extra milk solids to the butter to brown (in the form of powdered milk).  This really makes that 'brown butter' flavor front and center.

These have been crowd favorites and disappear pretty quickly when I have brought them in.  Neither a cakey sweet sugar cookie nor an overly spicy ginger-snap, this cookie falls right in the middle with it’s nutty butter flavor, rich brown sugar caramel undertones and just the right amount of sweet ginger bite.

Yields 18-24 cookies

  • 14 tablespoons unsalted butter
  • 2 tablespoons powdered milk
  • 2 cups plus 2 tablespoons all-purpose flour
  • ½ teaspoon baking soda
  • ¼ teaspoon baking powder
  • 1 ¾ cups packed dark brown sugar (plus additional ½ cup for rolling)
  • ½ teaspoon salt
  • 1 large egg plus 1 large yolk
  • 1 tablespoon vanilla extract
  • 3 Tablespoons candied ginger – coarsely chopped
  • ¼ cup granulated sugar

Preheat oven to 350 degrees and put rack on top position.

  1. Melt 10 tablespoons of the butter in skillet on stovetop. Add 2 Tablespoons powdered milk once melted and before it starts browning.  Using medium heat and constant swirling cook butter until it begins to brown.  The milk solids in the butter with brown to a caramel color and a nutty aroma is produced.  Do not burn the butter and pay close attention.  When completely browned pour into large heatproof bowl with the remaining 4 tablespoons of butter.  The hot browned butter will melt the un-browned butter.  Allow to cool.
  2. In medium bowl measure out flour, baking soda, baking powder and salt.  Wisk these dry ingredients until well mixed.
  3. Add brown sugar (1 ¾ cups) to melted butter.  Mix thoroughly removing any lumps with wooden spoon.  Add egg and egg yolk and vanilla.  Mix well, mixture will be uniform and creamy looking.
  4. Mix flour mixture and ginger into batter until fully incorporated and uniform.
  5. In shallow dish mix ½ cup brown sugar and ¼ cup granulated sugar with a fork to make a uniform lump free mixture for dredging the cookies.
  6. Roll golf ball sized portions (approx 1/4 cup) of the dough into uniform ball with your hands, roll in the sugar mixture and place 2 inches apart on PARCHMENT lined baking sheet (you will need two sheets or need to produce in two batches)
  7. Bake cookies on top shelf of oven for 12-14 minutes.  Cookies will flatten and tops will crack when done.  Cool completely on wire rack.  (Best when fully cooled and even better the next day when flavor melds).  Store (when fully cooled) in airtight container.


Comments (0)
Roast Chicken - easy one dish perfection

I am a total foodie.  I know the difference, at site, from semonlina flour and fine corn meal, can taste the difference between tellicherry and regular pepper, and make my own pasta, but struggled for a reasonably easy roast chicken for years.   A couple of months ago we were flipping channels and landed on the 'Barefoot Contessa".  Typicaly cooking shows bore me or move so fast that I can't keep up.  This time Ina (Garten - the Barefoot Contessa) was making a roasted chicken and before I could change the channel she said something along the line of 'this is foolproof and simple and we do this 3 or 4 times a month"..... so I hung around.... and it is.

This recipe is definately hers, I make no pretense of claiming the basis of the recipe, but wanted to post it because it is just too simple and makes a delicious family meal.

What you need:

  • One 5 pound roaster chicken
  • Salt (I like Kosher because it is easier to pinch and season things with)
  • Freshly ground black pepper
  • 1 large bunch fresh thyme, plus 20 sprigs - use fresh - almost always available at the grocery
  • 1 lemon, halved or quartered
  • 1 head garlic, cut in half crosswise
  • 2 tablespoons (1/4 stick) butter, melted
  • Olive Oil

vegatables for roasted chicken

This is where I am going to diverge from the printed recipe a bit.  On the Food Network site the vegtables that are recommended are very clearly spelled out (1 large yellow onion, 4 carrots and 1 bulb of fennel) - this makes a great vegatable collection upon which to roast your chicken but I found you can use just about any root vegatable and some non-standard ones make for some of the most interesting dishs.  What ever you choose you need to cut the root vegatables up into appox 1"-2" thickness.  I would definately include at least 1/2 a large onion but the rest can be what excites you at the grocery.  Tonight I used radishes, parsnips and fingerling potatoes.  You want about 4 cups of vegatables.  I'll write the rest of the recipe according to how it was served tonight and you can view the original over here.

  • 1/2 large yellow onion, thickly sliced
  • 12 medium radishes - stemed and halfed (leave the red skin)
  • 4 parsnips, peeled and cut into 2 inch pieces (parsnips have long skinny roots that will over-caramelize in the roasting so keep the cut sizes pretty generous)
  • 16 fingerling potatoes (mixed colors)

I have used all kinds of root vegatables so you really cant go wrong, but if you have never had a roasted radish or parsnip I would recommend using one or the other in this dish.


Procedure:

Pre-heat oven to 425 degrees - set rack to middle position in oven.

  • Rinse whole chicken - remove and discard giblets if included.  Pat dry.
  • Use a generous amount of salt and pepper to season inside cavity of chicken
  • stuff cavity of chicken with pieces of whole lemon, 10 whole sprigs of thyme and garlic pieces
  • ROASTED CHICKEN IN PAN 
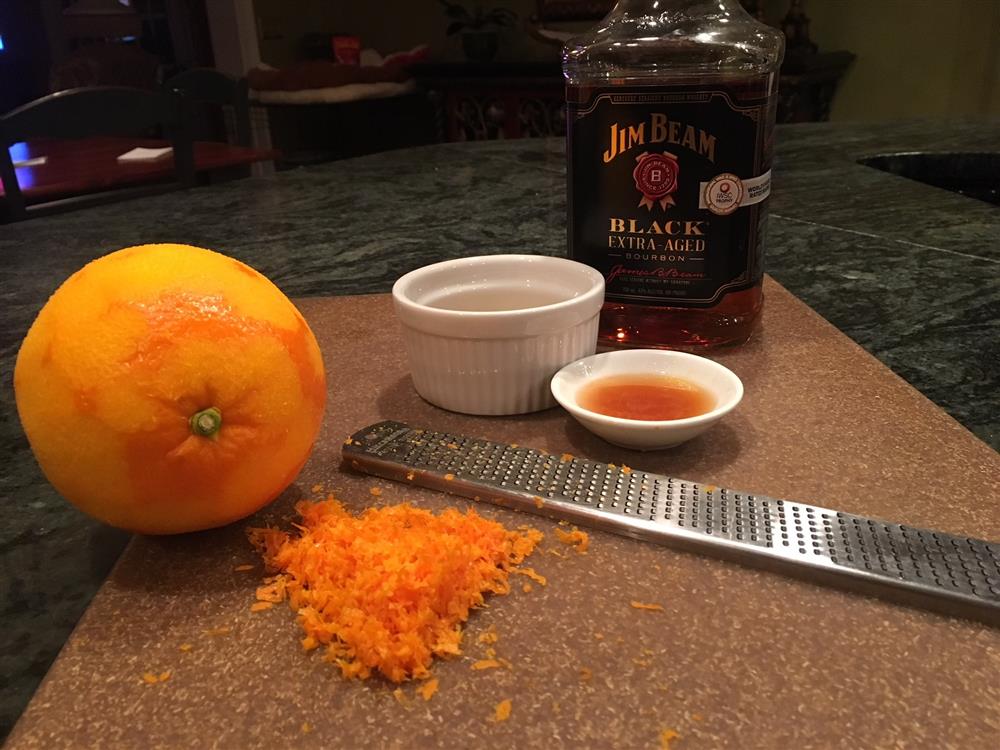
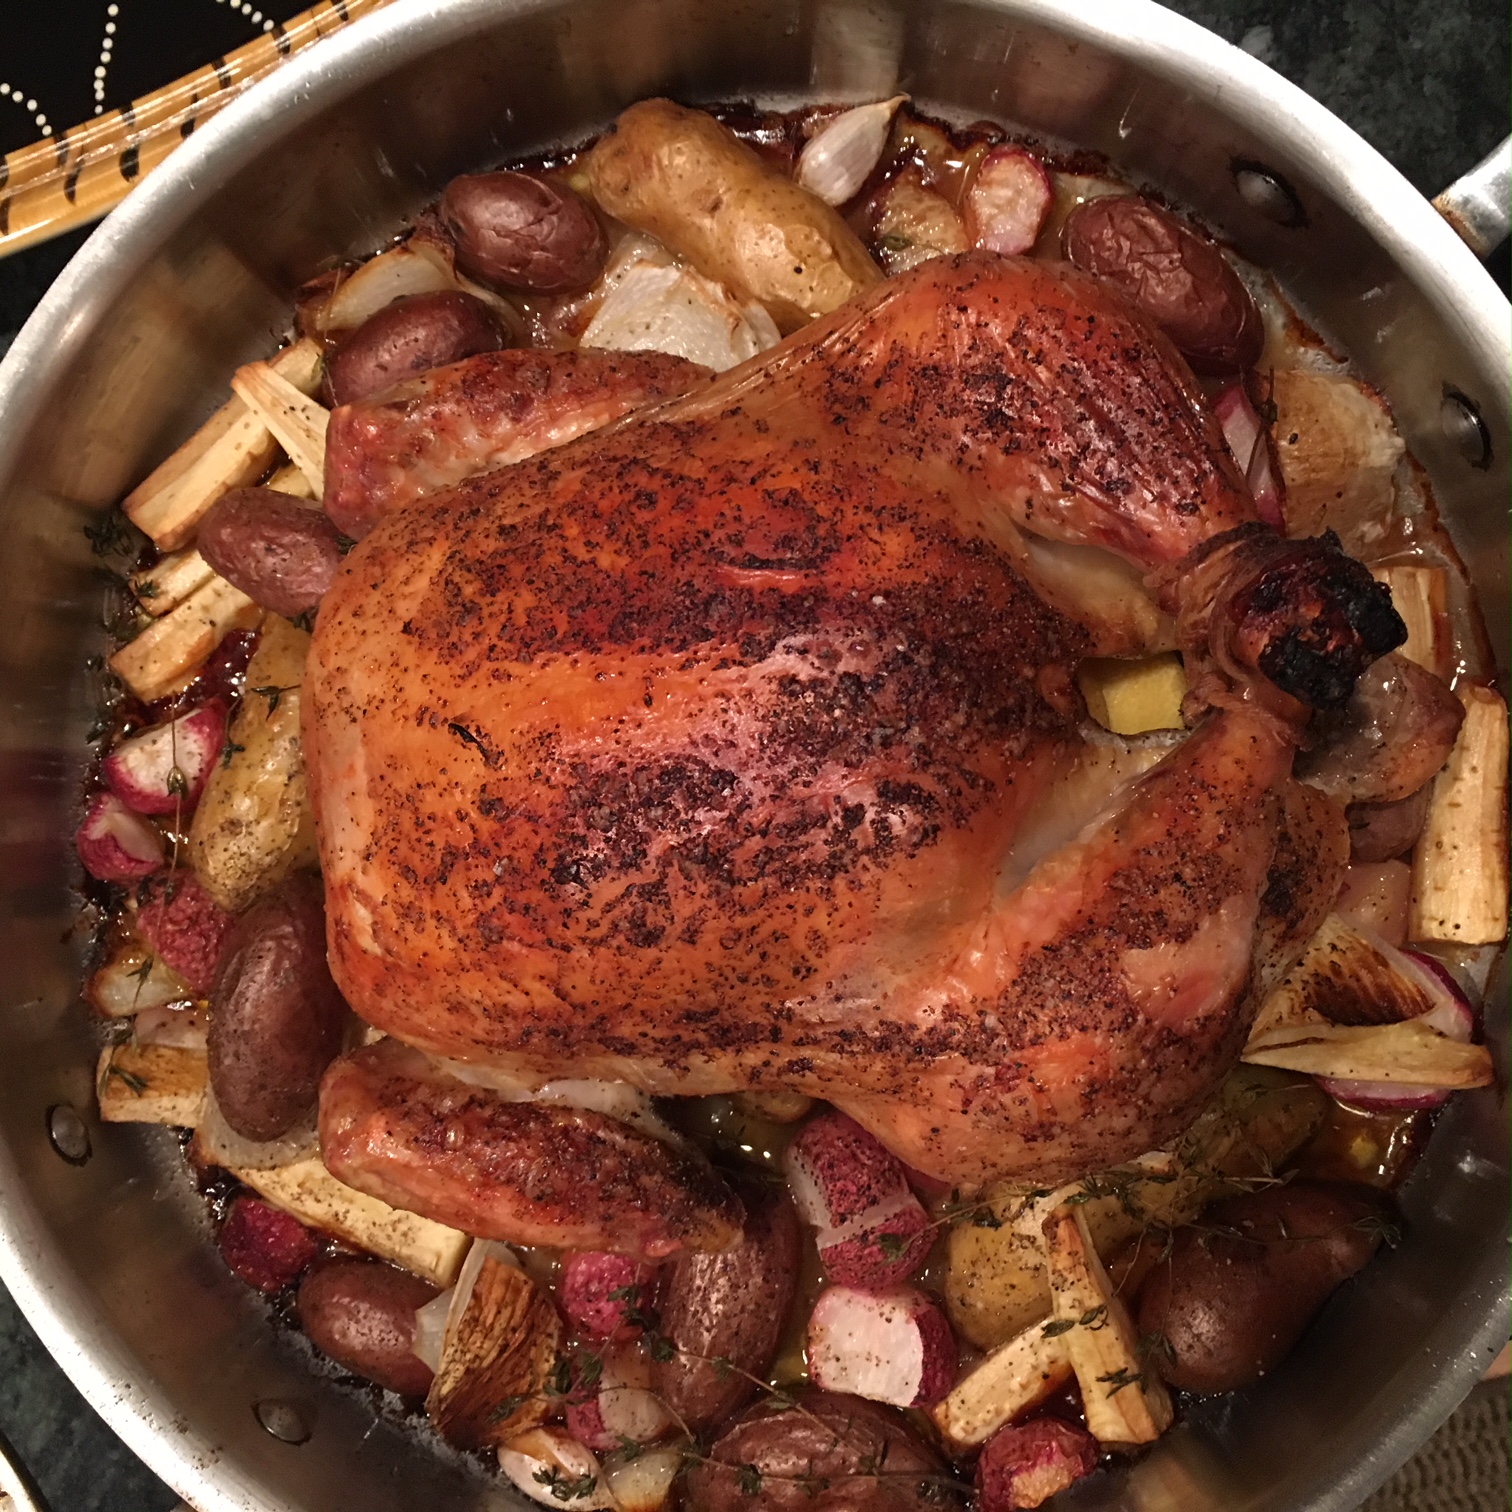
Close cavity and tie legs together with kitchen twine.  You will want to prep the chicken breast side up (as shown in photo).  The legs will be trussed together and you can tuck the wings up and around underneath the body to secure (see photo).
  • In large roasting pan scatter the vegatables.  Drizzle about 1 tablespoon of olive oil over the vegatables and toss to evenly distribute.  Add the remaining 10 sprigs of fresh thyme.  (I use a large staniless steel skillet instead of a roasting pan - you can use just about anything)
  • Place stuffed and trussed chicken directly on top of the vegatables, breast side up and with wings tucked under the breast.
  • Brush melted butter all over top of chicken and season with a few grinds of pepper and a sprinkle of salt
  • Roast in oven 1 and 1/2 hours.  
  • Remove Chicken to carving board and cover with foil.  Let sit at least 15 minutes.
  • Revove vegatables to serving platter with slotted spoon and cover lightly with foil.
  • After Chicken has rested for 15 minutes - carve and place pieces on top of vegatables on the serving dish.  
  • EAT!


Comments (0)
Oh Sugar! My Kid is a potty mouth

Every parent under the sun goes through this horrible period somewhere between 18 months and 4 years wherein their lovely, sweet, and perfect baby finds out 'potty words' get noticed. I remember a two year old cousin stomping around the room one Christmas singing "Sh*t, Sh*t, Sh*t, Sh*t, Sh*t, Sh*t, Sh*t, Sh*t....." What in the world is a parent to do with this?

Ignore it?

Well this just might be the best approach if it seems like an isolated incident of mimicry and development. Very young toddlers will pick up on sounds and words and try them out. Often it is just part of the development of the skills used to incorporate language into their daily lives. New words, fun sounds, and constructions that have a good 'mouth feel' make for common repeated phrases and words. The newly tested word will be abandoned shortly for a new one and your life will move forward.

A side note on this: To this day the phrase, ‘Mecca Lecca High Mecca Hiney Ho!’ plays over and over in my brain.... damn you pee wee herman!


Redirect it?

Sometimes that lovely 'mouth feel' of a word can get stuck and becomes a bit of a habit. The little mirrors, that are our children, pick up on some of our worst behaviors. When handled appropriately a simple redirection can accomplish quite a bit of good. Three and four year olds often want to be oppositional and test limits, but, for the most part, like to please their parents. If you can time the discussion correctly (NOT right after the child drops an F*bomb in the grocery store which reinforces the behavior) you can redirect the behavior. It needs to be communicated clearly that their choice to use that word wasn't the right behavior and is dissapointing. This should be done at some time after but not so far down the road they cannot remember the actual behavior. Like maybe in the car on the way home.


Punish It?

At a certain point all kids will do stuff just to push your buttons and the limits of the relationship. It is completely natural and part of their development. You want your child to question the rules in life. You want them to grow and thrive and test the boundaries. How else would we have ever made it to the moon or invented the iPhone or thought to put bacon into a chocolate sundae? HOWEVER, part of pushing boundaries and testing the function of the world is to suffer a few consequences in breaking the "rules". Jumping out of a tree to see if you can fly (ill-advised behavior, by the way) has the consequence of hitting the ground. AND the foul-mouthed kindergarten student is going to have some pretty major consequences for you as a parent and your child too. Set realistic limits and clear consequences of the behavior. Time outs, loss of favorite toy, loss of desert, loss of story time, etc. If all else fails, pull a Lifebouy like poor ole Ralphie.

Tell us about your favorite "potty mouth moment" in the comments below. We would love to hear about it. At least we can all laugh together, out of earshot of your 'foul mouthed toddler' :)

Comments (0)