
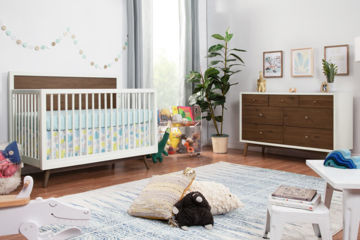

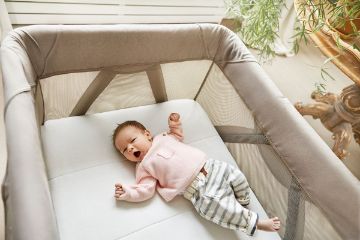


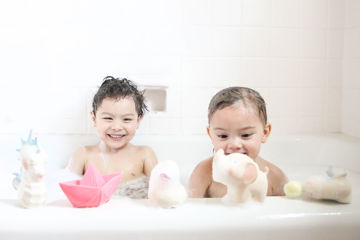
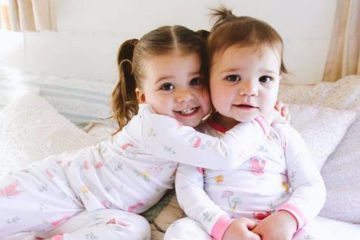


It is Hot. Not just a little .... but mind draining body beating hard to breath kind of hot this year. If you think this heat takes your breath away and wears you out, just think how that little metabolic engine know as your new infant feels out and about in this heat.
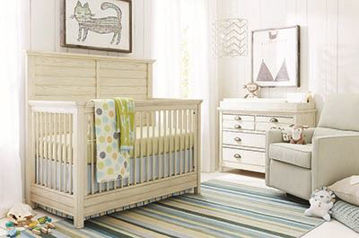
Babies all tend to run a bit warmer that the adults that care for them. The are just little engines that are burning food, building bone & muscle and all that metabolic energy gives off heat! We tend to think that we need to protect our little ones and dress them up, often over-dressing for the weather. Given the extreem heat in the south (and throughout the country this year) you should be extra careful to dress down your little one. Lightweight fabrics and minimal clothing should be the go to so your little metabolic engine is as comfortable as possible. Dressing down the little one will help them when facing the 90 degree plus weather we can expect for the next few months. Many many parents know this and do a great job of keeping the little ones comfortable in their home, but then venture outside and make some choices that are less wise.
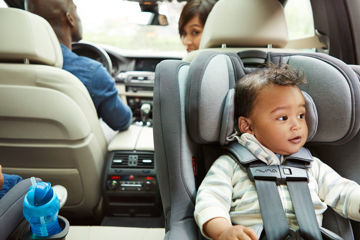
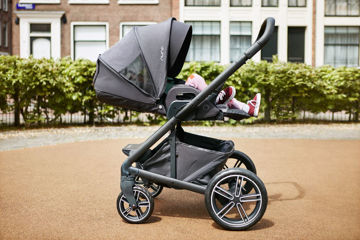
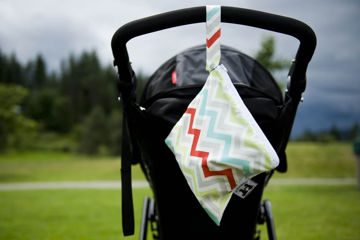
As any parent can tell you, random strangers are often suprisingly familiar with little babies. Most new parents are shocked how many people just walk up to your new infant child and start touching without asking. It is for this reason that the car-seat cover has become an important part of the parent's 'out with baby arsenal' Parents often use a cover over their carseat to function as both protection from sun and wind as well as strangers that want to reach into the carseat carrier and give the baby a little squeeze. Carseat covers and carseat canopies are great products but have some draw backs as well.
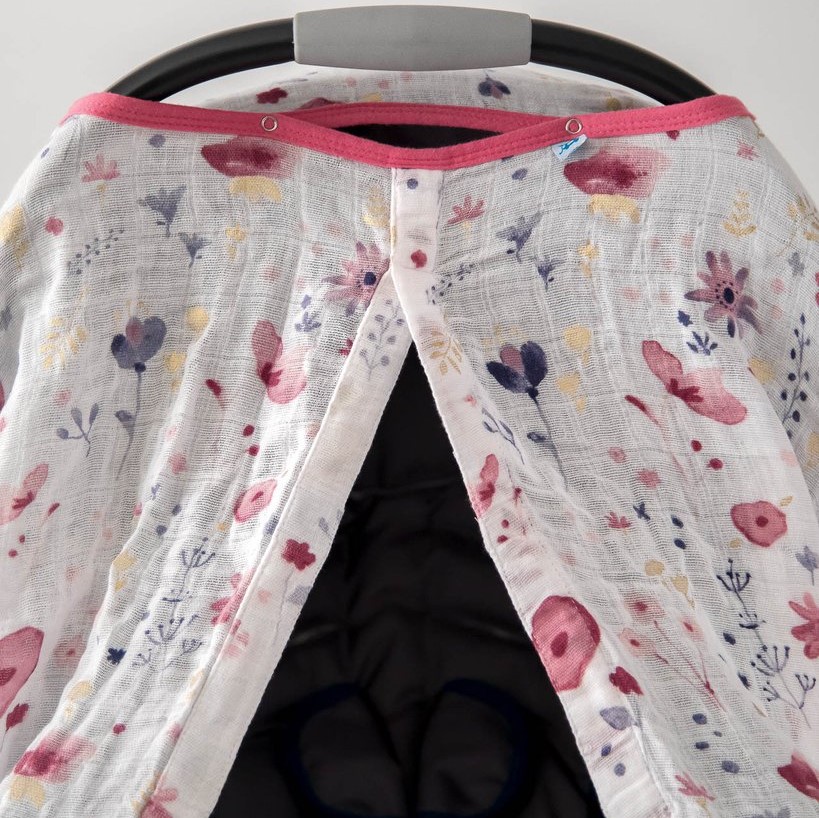
enclosed stretch knit carseat cover

fuzzy minky blanket carseat cover
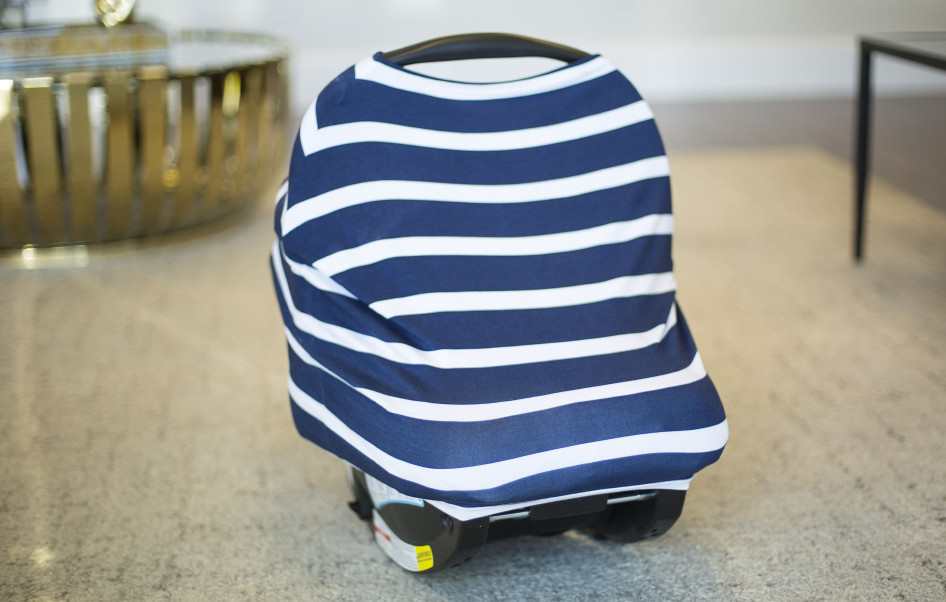
Most carseat covers are just blankets of some type that have been sewn to neatly wrap around or over an infant carrier type of carseat. They come in a myriad of styles and types. A majority of the most popular carseat covers are made of a stretch knit fabric that wraps around the entire seat, leaving the baby protected and the handle free for carrying. The problem with stetch knit is it is just not that breathable. The inside of the carseat and the baby therein can start to overheat. Recently there have been more and more warnings from health and safety professionals about taking care wit respect to blankets and covers on carseats and strollers in the hot summer months.
The solution is Muslin:
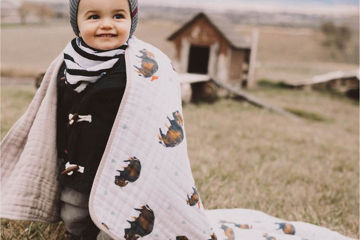
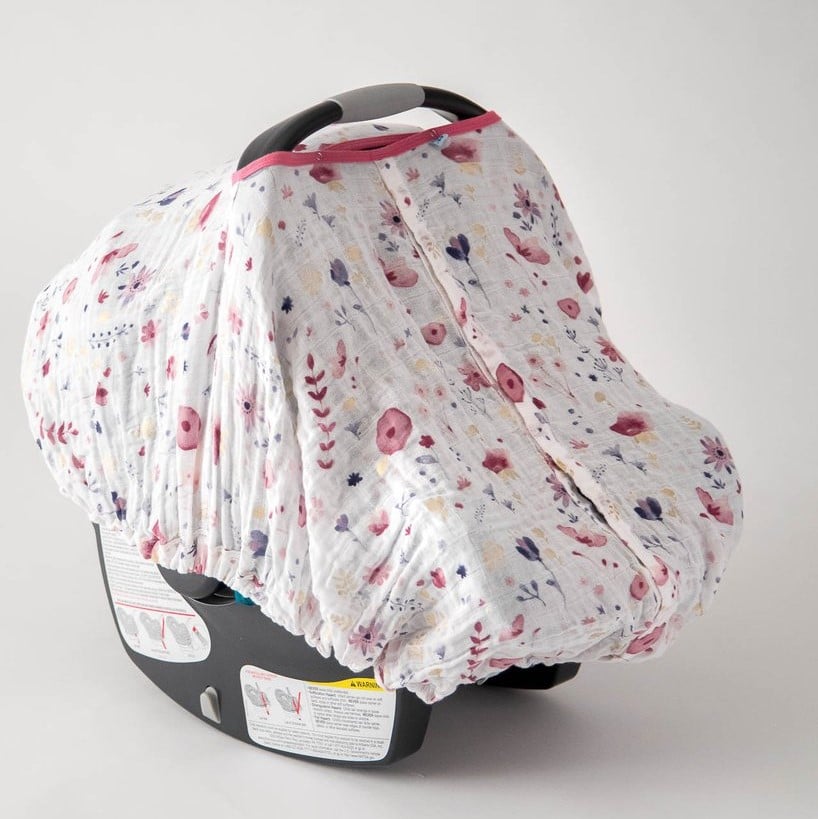
Muslin. Yes the lightweight open weave fabric that is all the rage in the baby industry is probably the best answer to how to cover the carseat. This fabric is super breathable since is is so thin lightly woven  together. Muslin is slightly tigher weave than cheesecloth but not much and allows supieror breathability. It is the fabric of choice in swaddling blankets for this very reason. Because it is so breathable it allows the heat to flow out quickly and not build up inside a swaddled baby as well as in a carseat if using as cover. Muslin swaddle blankets are extreemly popular and pretty much everybody receives a few for the baby shower. Muslin swaddling blankets can range from a few dollars to twenty-five dollars or more depending on brand and style, with most popular designer brands less than $20.
At a minimum grab a lightweight muslin swaddling blanket and toss it over the carseat or stroller when out and about in this heat and leave the stretch knit or minky covers at home.
Our Favorite Carseat Covers:
By far our favorite (and only product we sell in this category) are the dedicated muslin carseat covers from Little Unicorn. They are single layer of super breathable 100% cotton muslin that is sewn to function as a carseat cover. They have an elastic band sewn at the bottom to fit around the carseat and snaps at the top to attach to the carrier handle.... but the best part is that they have a magnetic closure so you can open them up without removing the entire cover to check on the baby. Eventhough a simple muslin swaddling blanket will work as a good breathable carseat cover, these dedicated products do provide a fitted and easy to function approach. All the lovely fashion doesnt hurt either.
Little Unicorn Carseat Cover
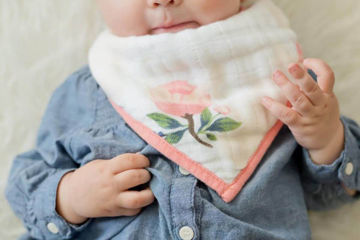
magnetic peek-a-boo window in muslin cover

magnetic peek-a-boo window in muslin cover

 I made up a big batch at 10pm and suffered through the hour long stirring. Poured them out and then hit the hay. The next morning, I rushed to the fridge, cut off a huge chunk and did a little taste test. Soft rich buttery and delicious (not a hint of wax to be found). After my first batch and the fact that they disappeared off the counter at an alarming rate, I decided to play around with this recipe and expand the flavors a bit. I love butter rum flavor and bourbon seems to the perfect partner for the caramel so I knew I was going to use bourbon in the recipe. Since there was already some vanilla and the addition of the bourbon would ratchet up that flavor profile a good bit I thought some counter part flavor would need to be added. Naturally with vanilla & bourbon I decided a hint of citrus would expand the taste a good bit and settled on orange. Orange + Vanilla always = Creamsicle in my mind so I gave it a whirl.
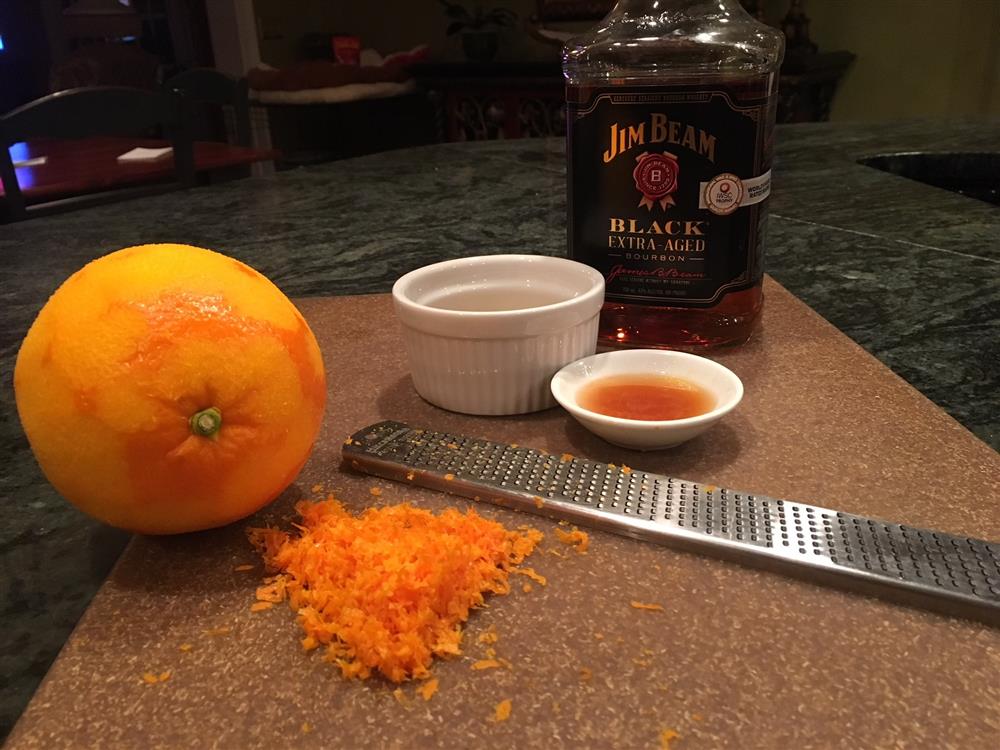


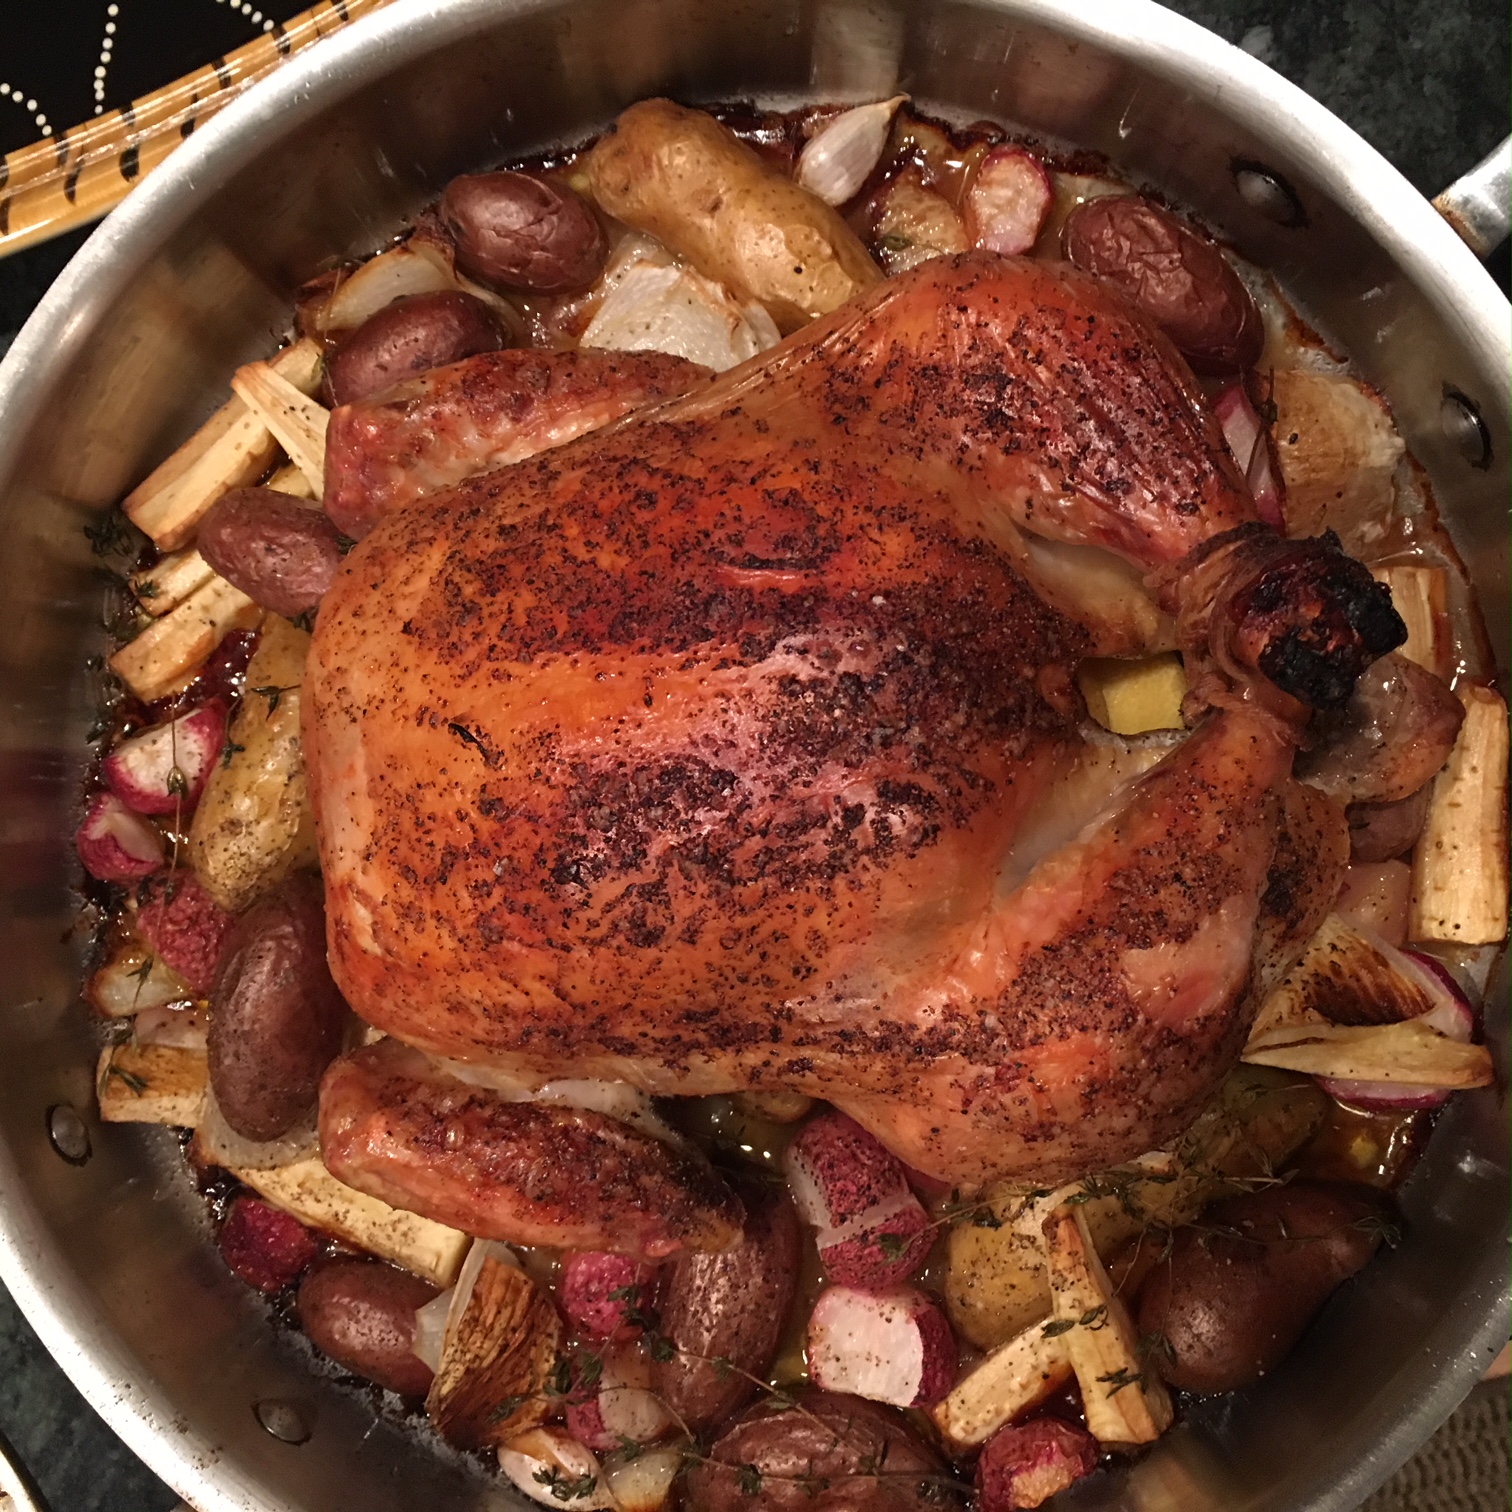 Close cavity and tie legs together with kitchen twine. You will want to prep the chicken breast side up (as shown in photo). The legs will be trussed together and you can tuck the wings up and around underneath the body to secure (see photo).


 Every parent under the sun goes through this horrible period somewhere between 18 months and 4 years wherein their lovely, sweet, and perfect baby finds out 'potty words' get noticed. I remember a two year old cousin stomping around the room one Christmas singing "Sh*t, Sh*t, Sh*t, Sh*t, Sh*t, Sh*t, Sh*t, Sh*t....." What in the world is a parent to do with this?
 Redirect it?
 Punish It?

 ]
]


 We all know a few of the dedicated stay at home dads that took the initiative to devote their time and energy to the kids (cant imagine a more exhausting or rewarding career). Finally some big national companies are taking a liking to this great group of parents and actually spending some time and money to advertise about and to them. This is such a big change from as early as a year ago when a group of dads started a